


How to install extra themes in Ubuntu 10.04 LTS desktop
Posted in "News"
Source:http://ubuntu-art.org/

It is already widely known among Ubuntu users, but for those who are starting with Ubuntu, and then especially with the LTS (Long Term Support) release, here is how you can change the look and feel of your desktop by installing new themes. There is a wide distribution of many different themes available, for instance the Bisigi themes (see further in this article). This article will take on the most popular themes and explain to you how to install them.
1. Community themes.
The community artwork team also has some themes available that you can install, open a terminal and type in: [code=]sudo apt-get install community-themes[/code] Now go to System -> Preferences -> Appearance and select the Theme tab and choose a new theme.
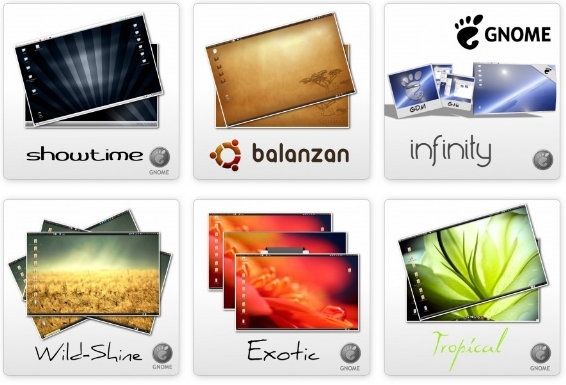
2. Bisigi themes.
Here is an example for of the themes available:

If you want to install the Bisigi themes, just open a terminal and type:
sudo add-apt-repository ppa:bisigi/ppa to add the stable repository to the list. Next, you have to perform an update:
sudo apt-get updateAnd now you can install the themes:
sudo apt-get install bisigi-themesNow go to System -> Preferences -> Appearance and select the Theme tab and choose a new theme. If you want to know more about this project, just take a look here. Note that these theme's are also available for Ubuntu 11.04!
3. Change your Ubuntu into Mac OSX.
There is also a option to turn your desktop into Mac OSX!

It's not that hard to do at all and it's the closest you can get changing Ubuntu into mac. Take a look at the following link for the how-to: http://maketecheasier.com/turn-ubuntu-lucid-mac-os-x/2010/06/01